
Modern Calligraphy + Cotton Paper
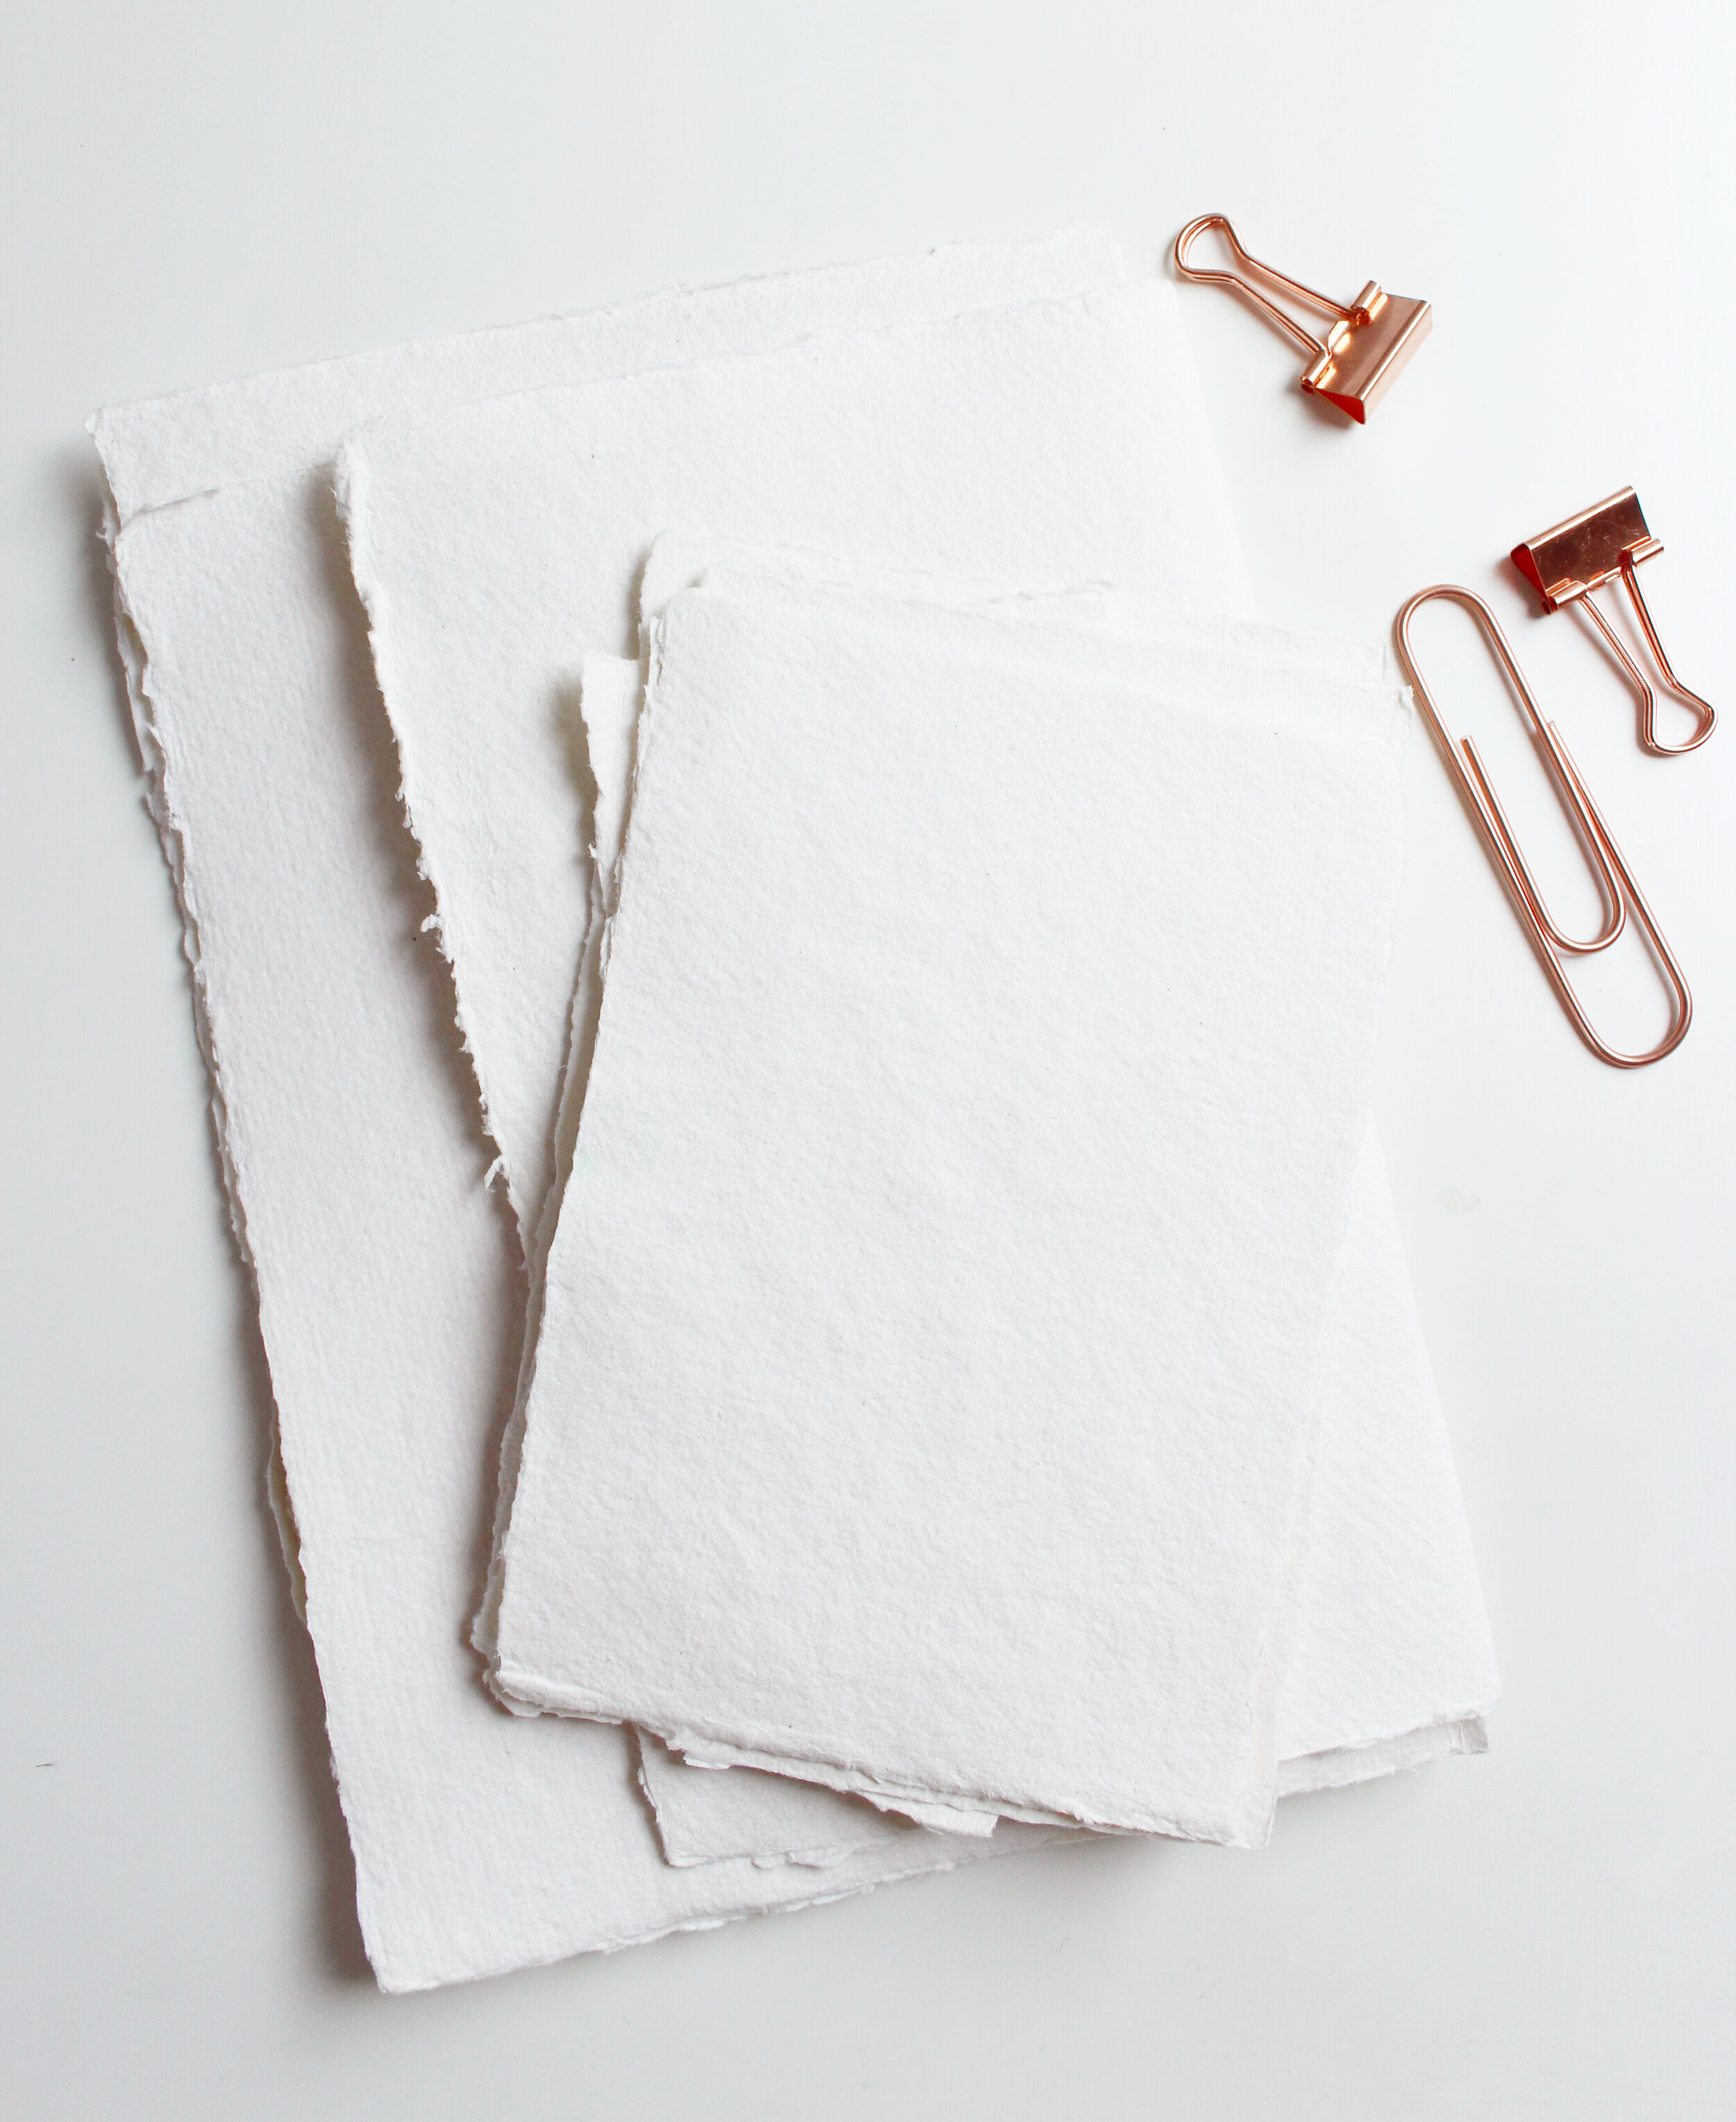
Handmade paper is one of my favourite materials to work with - you can’t go wrong with a cotton texture, deckled edges and a rustic look.
However, it can also be very tricky to letter on due to its rough texture. I’m about to share my experience with this wonderful material - just some tips and tricks to help you keep your sanity! It has taken many hours to master, resulted in a several ink spillage accidents, ruined a few nibs and wasted lots of sheets. I want to save you all the trouble - so let’s begin!
First things first - where do you get this gorgeously textured paper that everyone is using for their wedding stationery? Here is a DIRECT LINK to purchase your pack to make you all set and ready for taking your modern calligraphy to the next level!
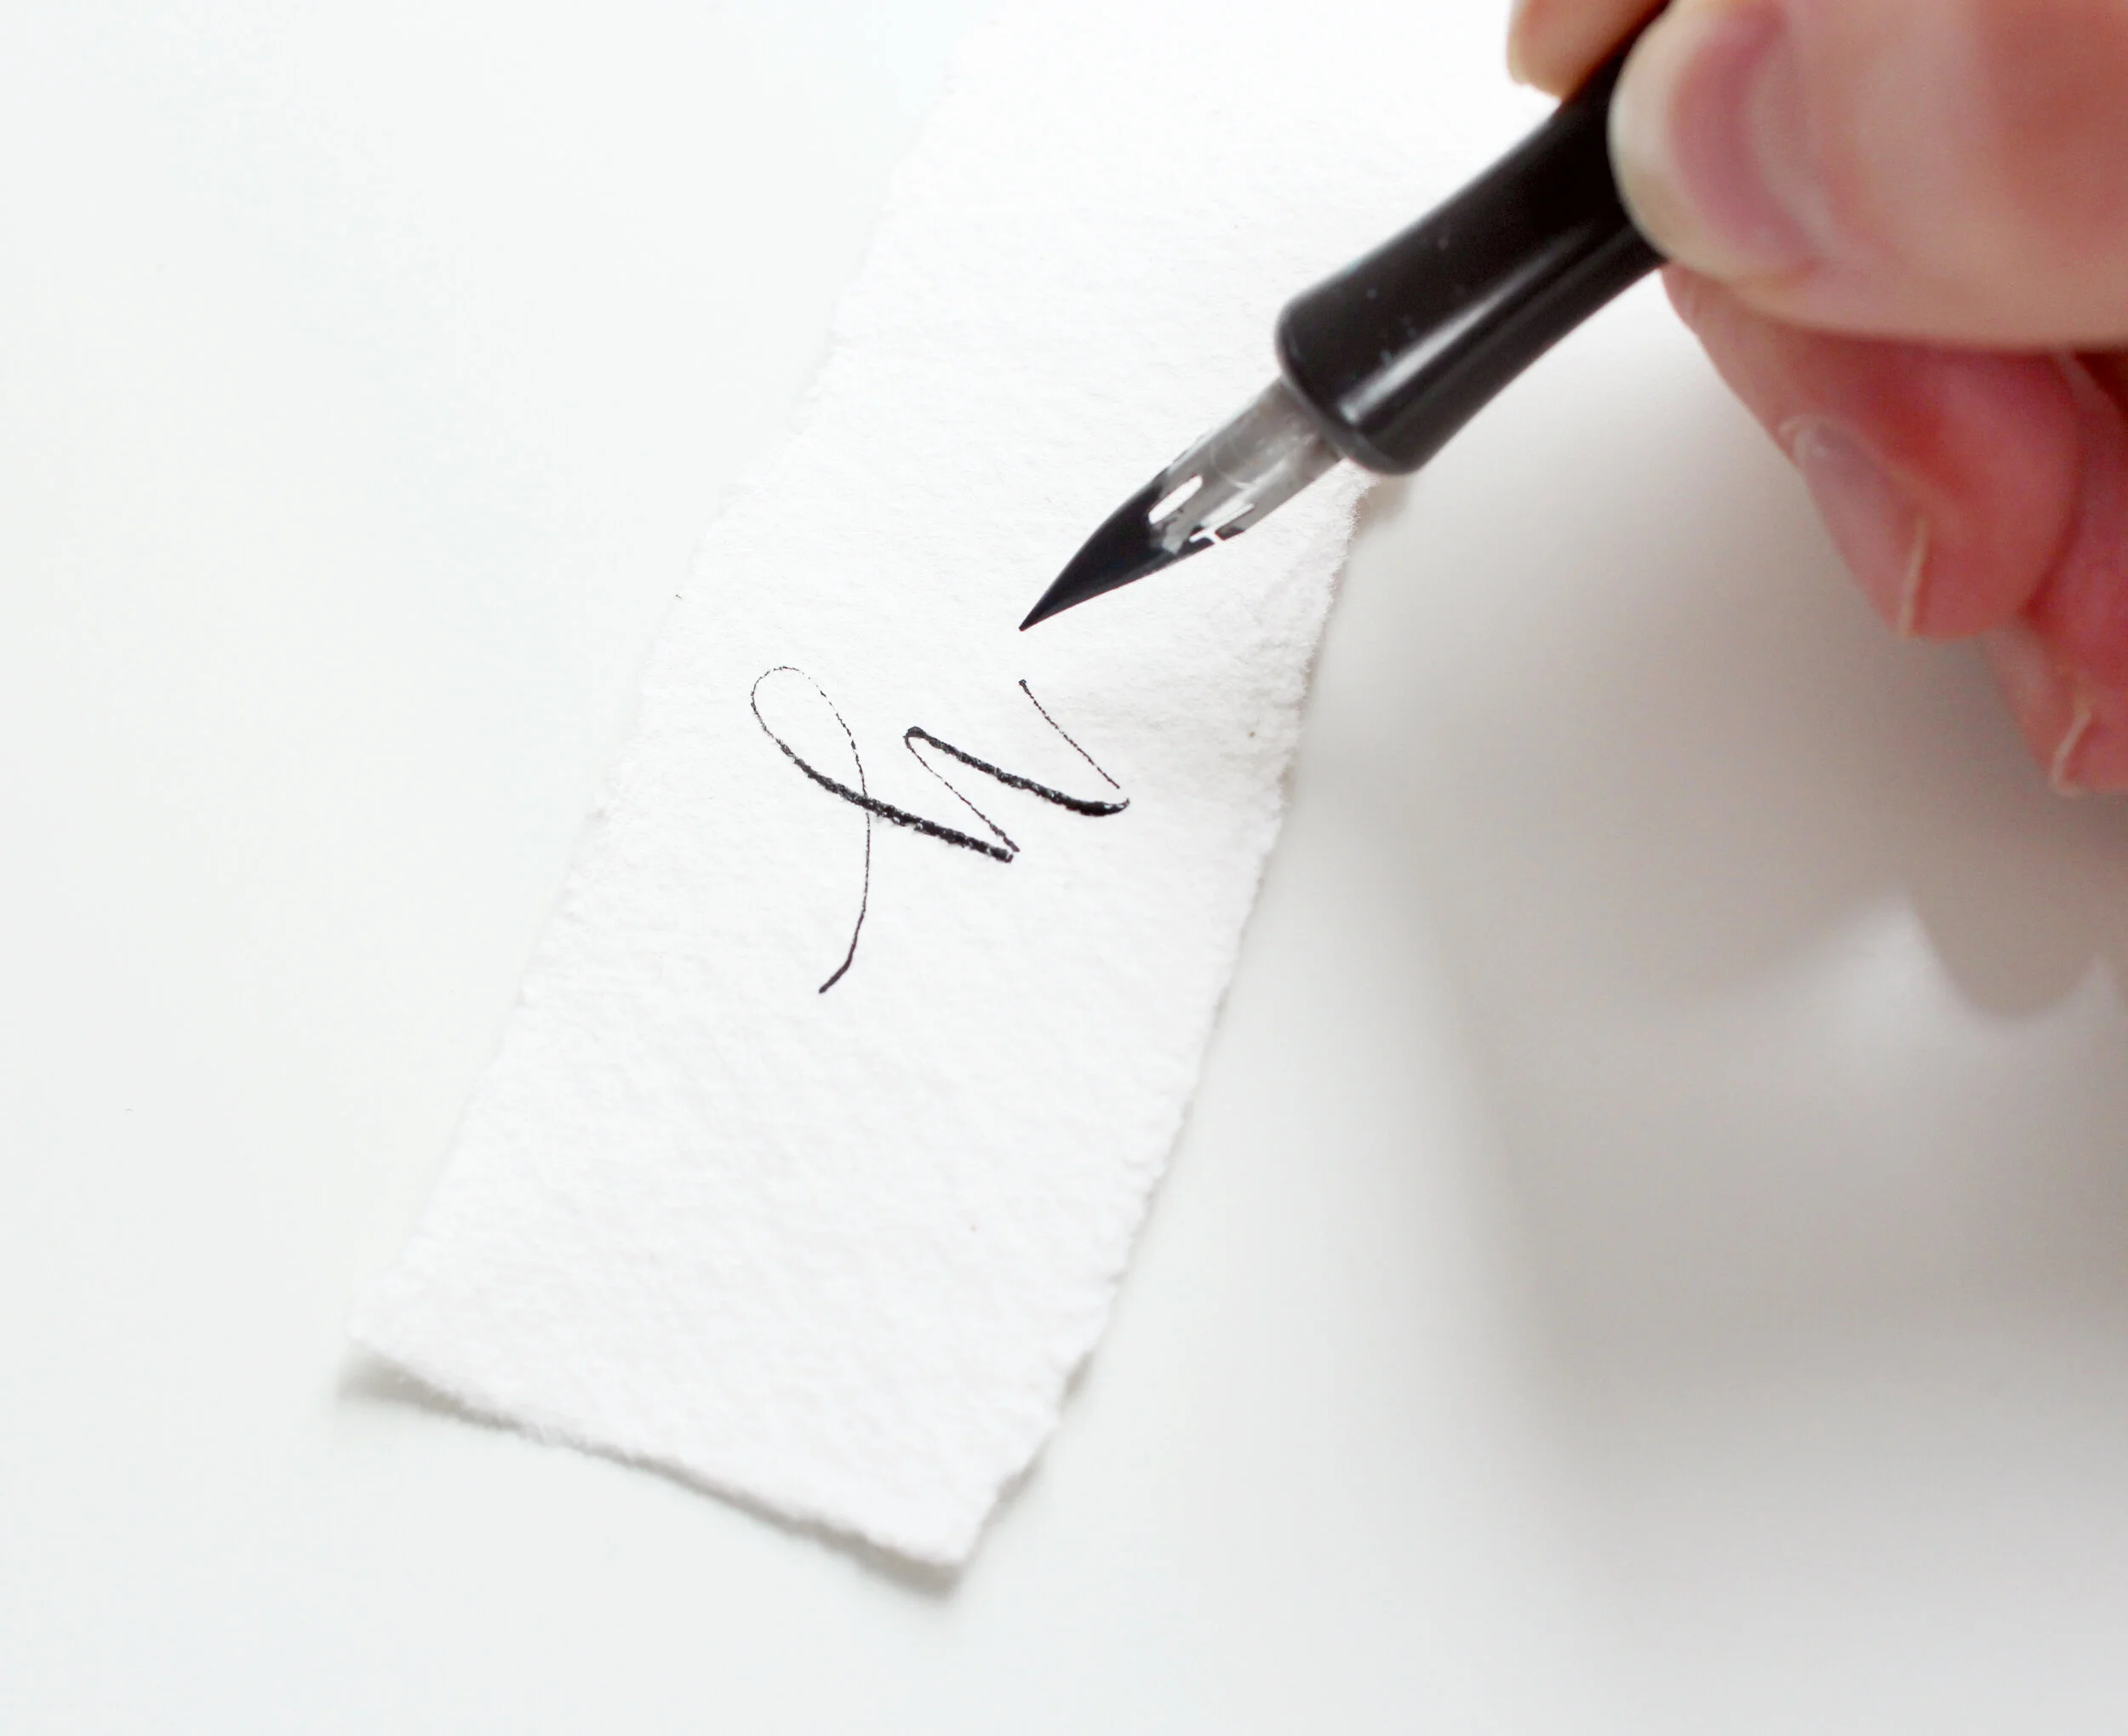
Let’s get our tools right - I am using a Nikko G nib, Speedball Straight Pen Holder and a Windsor and Newton black calligraphy ink. This combo has served me well for a duration of my lettering practice and it’s the one I trust the most.
You can either trim your paper to the size you require or use a fold and rip technique. I personally prefer to rip it with my hands as it keeps the deckled edge and adds to the rustic vibe!

You’ve got the paper and you’ve got all the supplies - let’s give it a try!
The first thing you’ll notice that the paper is catching into your nib, and you don’t want to ruin your brand new supplies, so we’ll have to work on our pressure! What you want to achieve is to learn to apply a very light pressure and make your lettering flow as easy as possible. The best way to achieve this is to relax your hand completely, work your arm instead of your wrist, but still have a good grip of controlling the strokes. You want to be applying the theory of thick downstrokes and thin upstrokes, but keep the pressure very light overall. I find that if you make sure to keep the pen at a good slant, the flow of the letters will look much more natural.
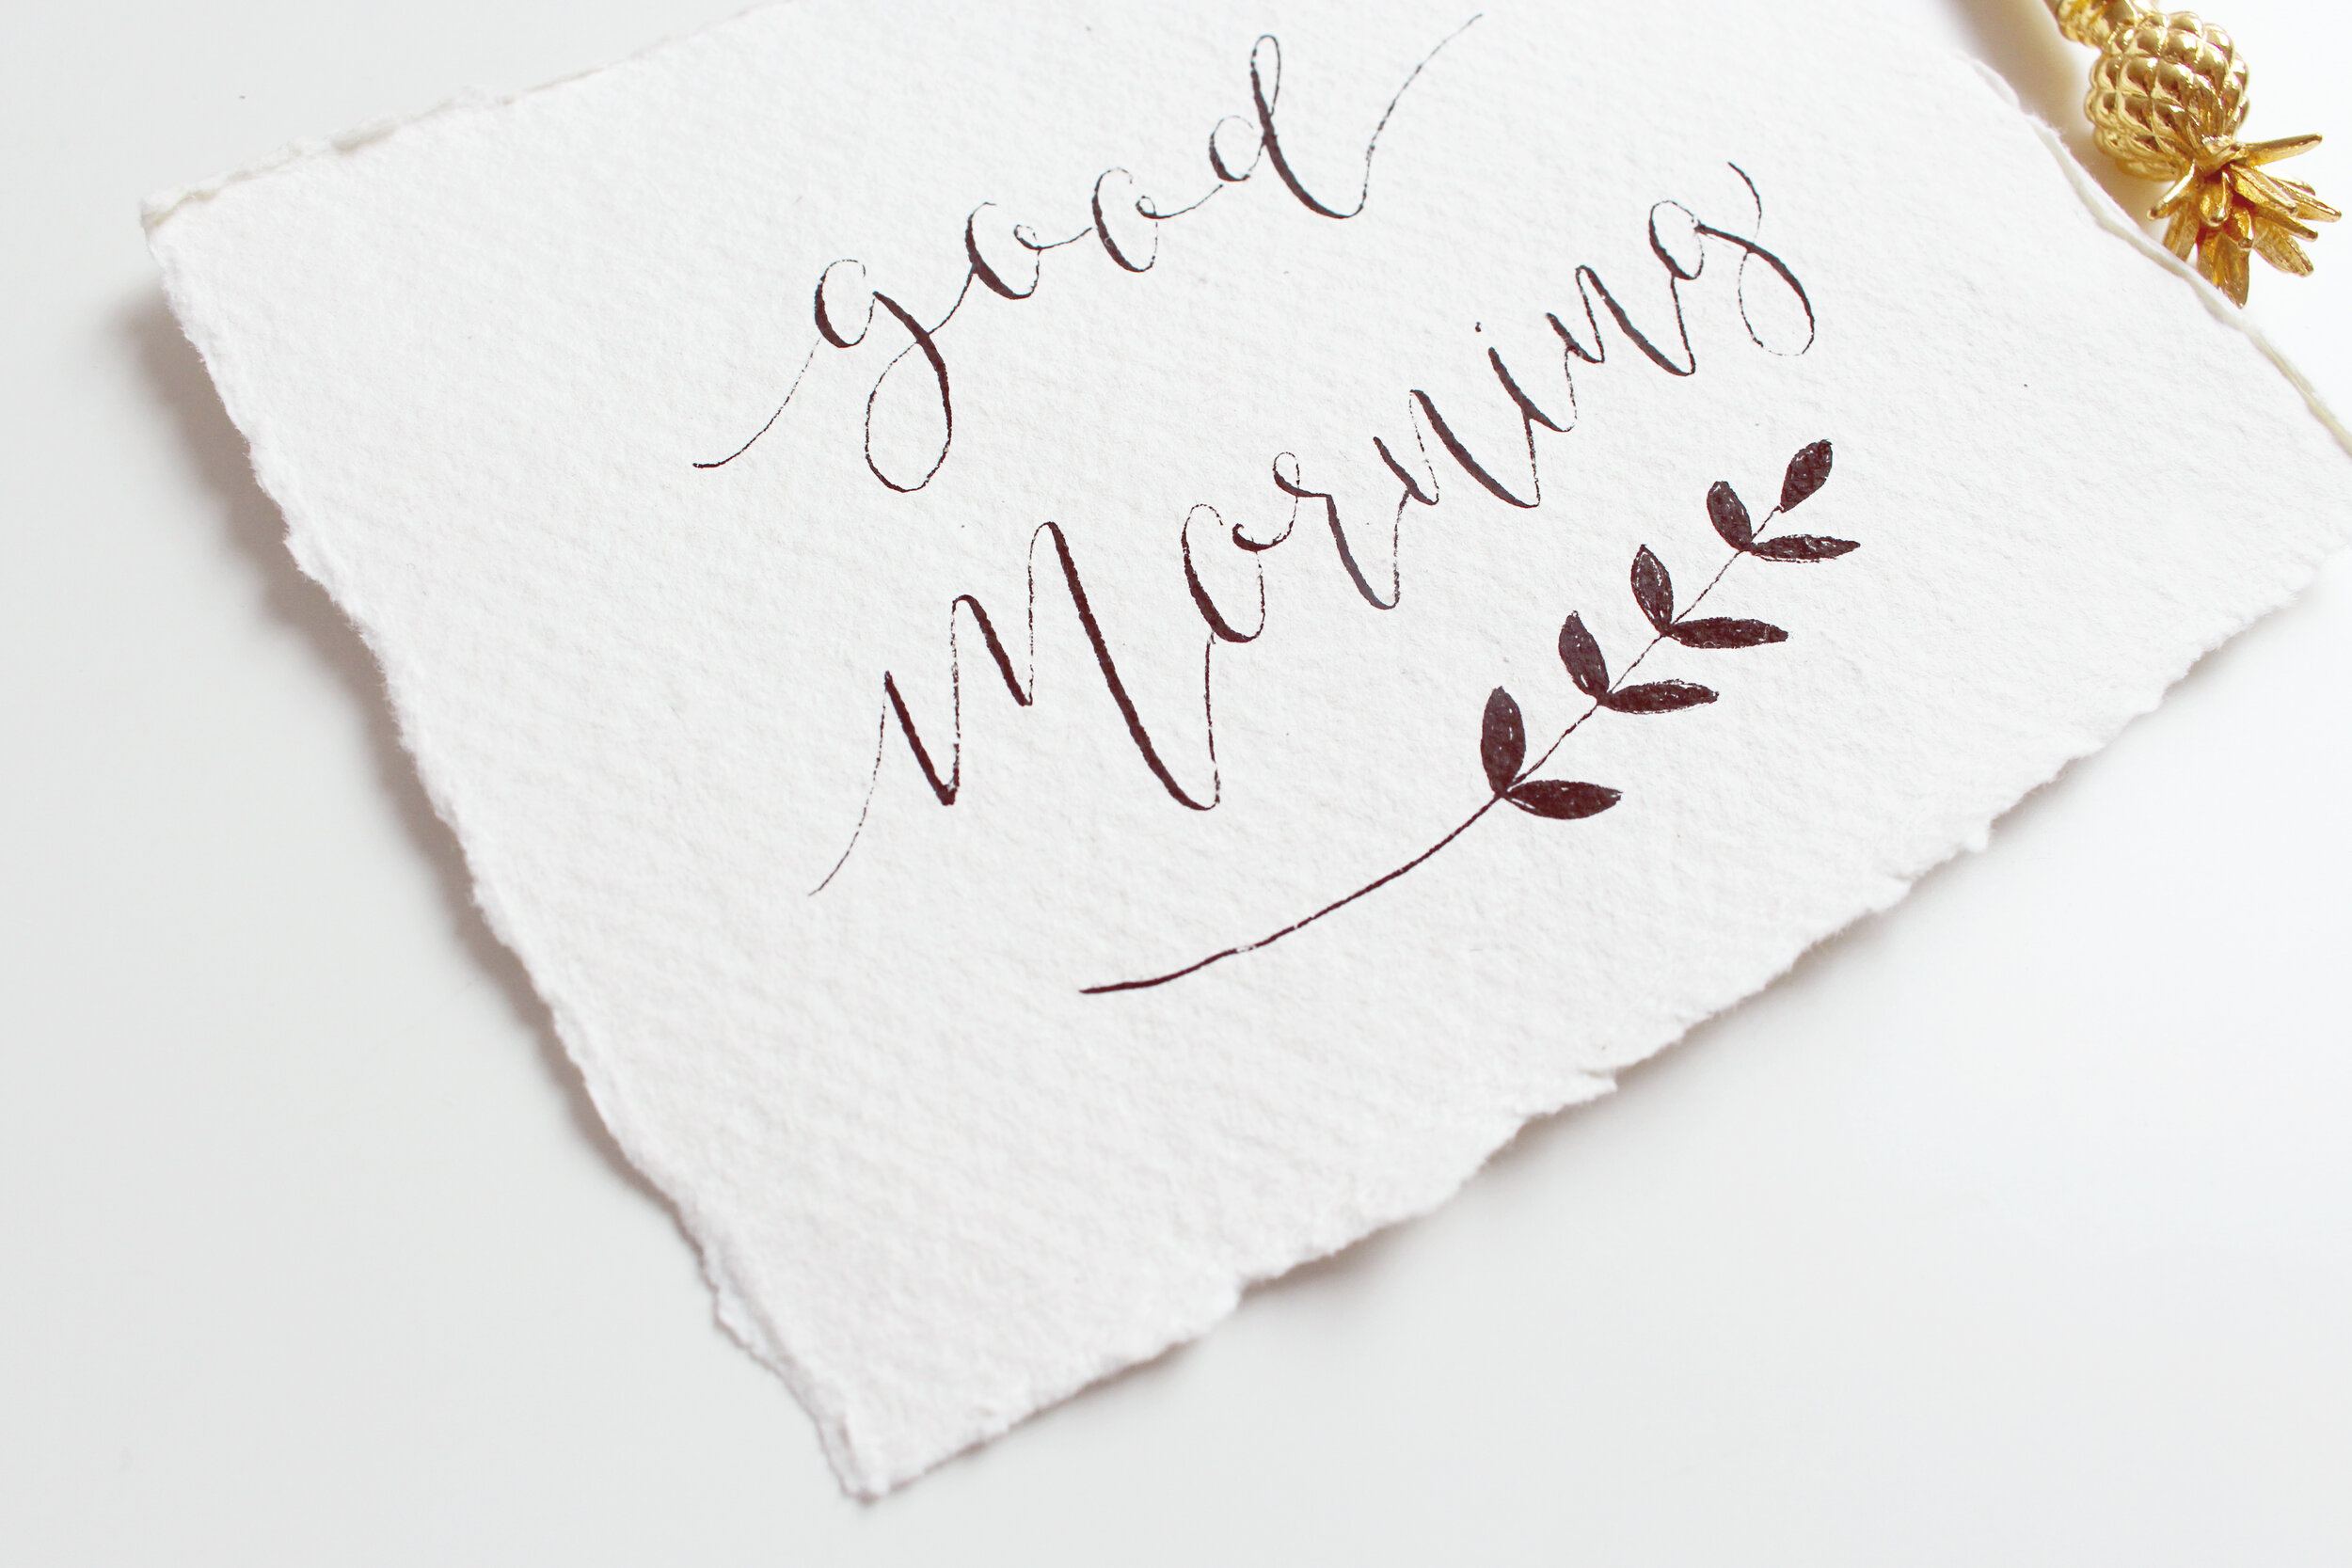
Yes, there will be little flaws, blanks and disconnected lines - it all adds to the handmade look and actually makes your calligraphy look more unique! Just practice, practice and practice.
If the dust and paper gets in a way, wipe your nib off with a tissue - you might need to do it after every word to whilst you’re learning to adjust the pressure.
Have you tried all of the above but it’s still not rolling?
It could be your ink.
Double check the consistency of your ink - is it too watery? Is it too thick?
Give a jar a good shake. If it tends to bleed on your paper - I find that adding a little bit of GUM ARABIC quickly solves the problem (again, make sure you shake it well before use, so it doesn't separate into two parts).

And there you go, now it’s up to you to experiment - rip your paper in different sizes or shapes, add a bit of sparkle with a Finetec Gold Palette, add a watercolour wash background, pinch a hole and add a ribbon to make beautiful place cards - the opportunities are endless!
Make sure to check out the Wedding Photoshoot that features our cotton paper wedding stationery - it might inspire you for some fun projects!
Some of the links in this blog post are affiliate links. This means I may earn a small commission if you make a purchase through these links, at no extra cost to you. Your support helps keep this blog running. Thank you!
Did you know that by signing up to my Blooming Calligraphers membership you'll get instant access to the exclusive worksheet library, engaging calligraphy and watercolour projects, and fresh monthly content? Become a member today, sign up here
Let’s connect!
Instagram: http://instagram.com/creativefeeldesigns
E-mail: hello@creativefeeldesigns.com
www.creativefeeldesigns.com