
Ten Simple Calligraphy Tips for Beginners
Are you looking for a fun, challenging hobby that doesn’t have to break the bank? Would you like one that you can use to create unique handmade gifts for friends and family? How about a hobby that can be both relaxing and fulfilling, and which allows for endless creativity?
In case you haven’t already guessed by the title of this article, we’re talking about calligraphy.
Calligraphy and other types of hand lettering fit all of the above criteria and more. Calligraphy can look incredibly complicated on the face of it — and sometimes it is — but there’s plenty of room for adaptation and for simpler versions. For instance, those who use calligraphy to design a logo need to become familiar with different variations that can represent the essence of the brand.
Whether you’re a beginner looking to develop your own style or to learn formal calligraphy, these are the tips for you!
Not all calligraphy is created equal. There are multiple types and schools of calligraphy, just as there are multiple styles of hand-lettering.
This is not to say that a certain type of calligraphy is better than any other. It’s just that there are personal preferences involved.
What it boils down to in the end is that there is a difference between traditional calligraphy and modern calligraphy.
Traditional calligraphy:
Is done with traditional tools specific to the job
Has precise measurements for each letter
Follows exact angles for each line
Has more structure than modern calligraphy
Modern calligraphy:
Has more freedom and room for individuality
Doesn’t follow a rigid set of angles and measurements
Can be altered to fit the calligrapher’s personality or whim
Is less structured
Both basic schools of calligraphy have a lot to recommend, and if you’re new to hand lettering and calligraphy, you may want to investigate each of them before you decide what you want to learn first.
And even once you do, don’t let that stop you from learning more! Traditional calligraphy is a great leaping-off point for hand lettering. Modern calligraphy can be adapted as you go from the more traditional form.
There are also variants from other backgrounds that use similar styles but different letters. Asian calligraphy, as an example, involves creating Chinese or Japanese characters in a calligraphic style. Arabic calligraphy is another example.
These other types often use different sorts of pens, such as brush pens, rather than a more traditional calligraphy pen.
Know Your Tools
Even if you’ve never investigated the details of calligraphy, you probably know that there is something called a nib involved. But if you’re going to learn a skill, you should start by learning your tools.
The two basic parts of your calligraphy pen are the nib and the pen holder.
The nib itself — the tip of the calligraphy pen — has parts with distinctive names, rather like an anatomy. The tip, or point, is obvious. It is separated into two parts by a slit, forming tines. Where the point widens out is called the shoulder, with a vent hole just underneath, leading to the body of the nib.
Traditional calligraphy pens can either be straight, meaning the nib is in a line with the pen holder, or oblique, which means the nib is attached separately at an angle.
Learning the vocabulary of calligraphy can help a great deal as you go along, especially if you’re following tutorials, or need to find replacement parts for your pen.
But there are other tools you should learn how to use, as well. There are even more types of pens — read on to find out more.
Use Beginner Friendly Product
One of the fundamentals of calligraphy is using the appropriate paper. Look for paper with low absorbency so your ink won’t bleed. Choose smooth-surfaced paper to keep your pen from catching as you stroke.
Many calligraphers recommend Rhodia paper pads, whether lined, dotted, or blank. As a beginner, you may also choose to use brush pens, such as those from Tombow’s brand, to get started with getting the feel of lettering.
If you’re going straight for a more traditional calligraphy pen, try not to opt for the cheapest set out there. Often, you’ll end up with more spotting and blots, which can get frustrating as you’re trying to get the hang of the strokes.
It may require a little bit more of an investment, but choose a mid-line calligraphy set to start with.
You should also have pencils and a ruler in your calligraphy tool kit as you’re getting started.
Learn the Basics
The basics of calligraphy are, not to put too fine a point on it, fundamental to your growing skill.
If you want it boiled down to its simplest form, then this is the general rule:
Ascending strokes are thin
Descending strokes are thick
Depending on whether you’re sticking with traditional calligraphy or mixing it up a little with modern variations, the actual thicknesses of the lines may vary. They will also change depending on the styling and the letters themselves.
It also makes a difference how you hold the pen. It’s not the same as other types of hand lettering, where you usually hold the pen or pencil as if you were jotting down a list.

Most calligraphers recommend holding the pen at about a forty-five-degree angle, allowing the point of the nib to lead the flow. This might feel a little on the odd side if you aren’t used to it.
But that’s where practice and learning by example come in.
Refer to A Certain Style
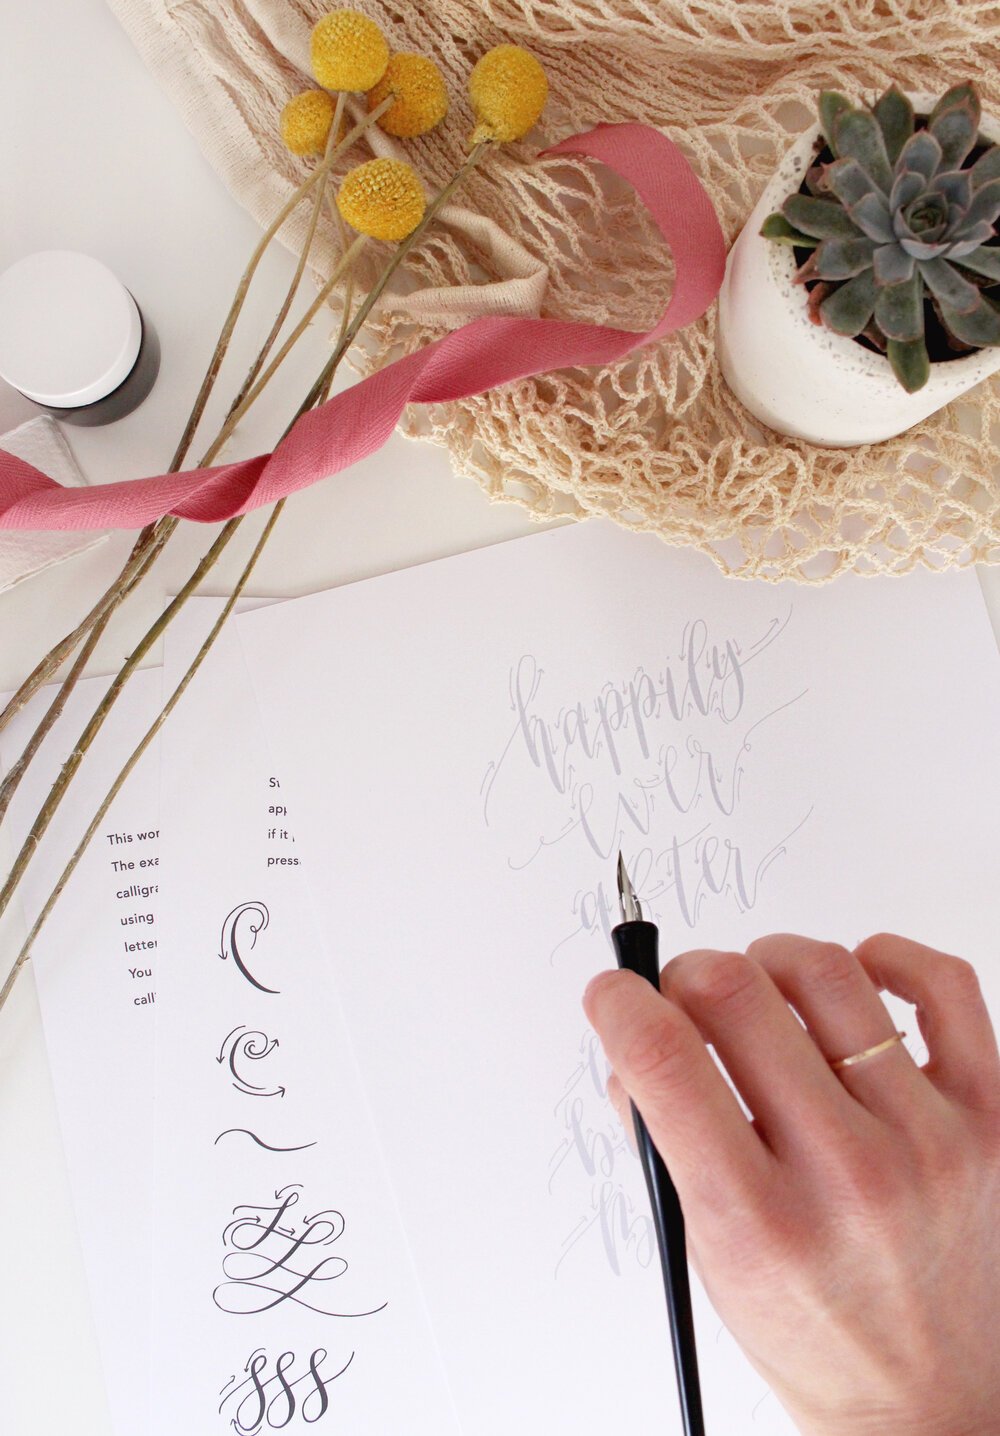
As you’re learning how to use calligraphy, it will probably be easier to stick to a certain set of lettering types for the initial practice, before you branch out to others.
Traditional calligraphy styles such as Copperplate and Spencerian can be found online, often with indicators to tell you how the letters are meant to be formed.
Worksheets are also a good idea for practice. Some can be found for free through a Google search, and others come as part of calligraphy packages that include tutorials and examples.
As mentioned above, there are lots of different variations on basic calligraphy. So even though you will probably just choose one to begin with, that doesn’t mean you should limit yourself later on as your skill continues to grow.
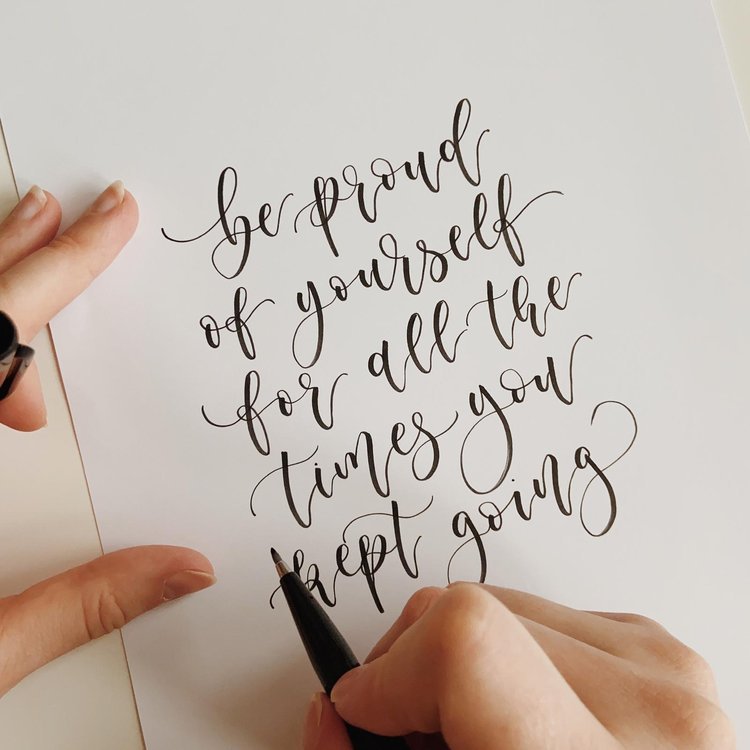
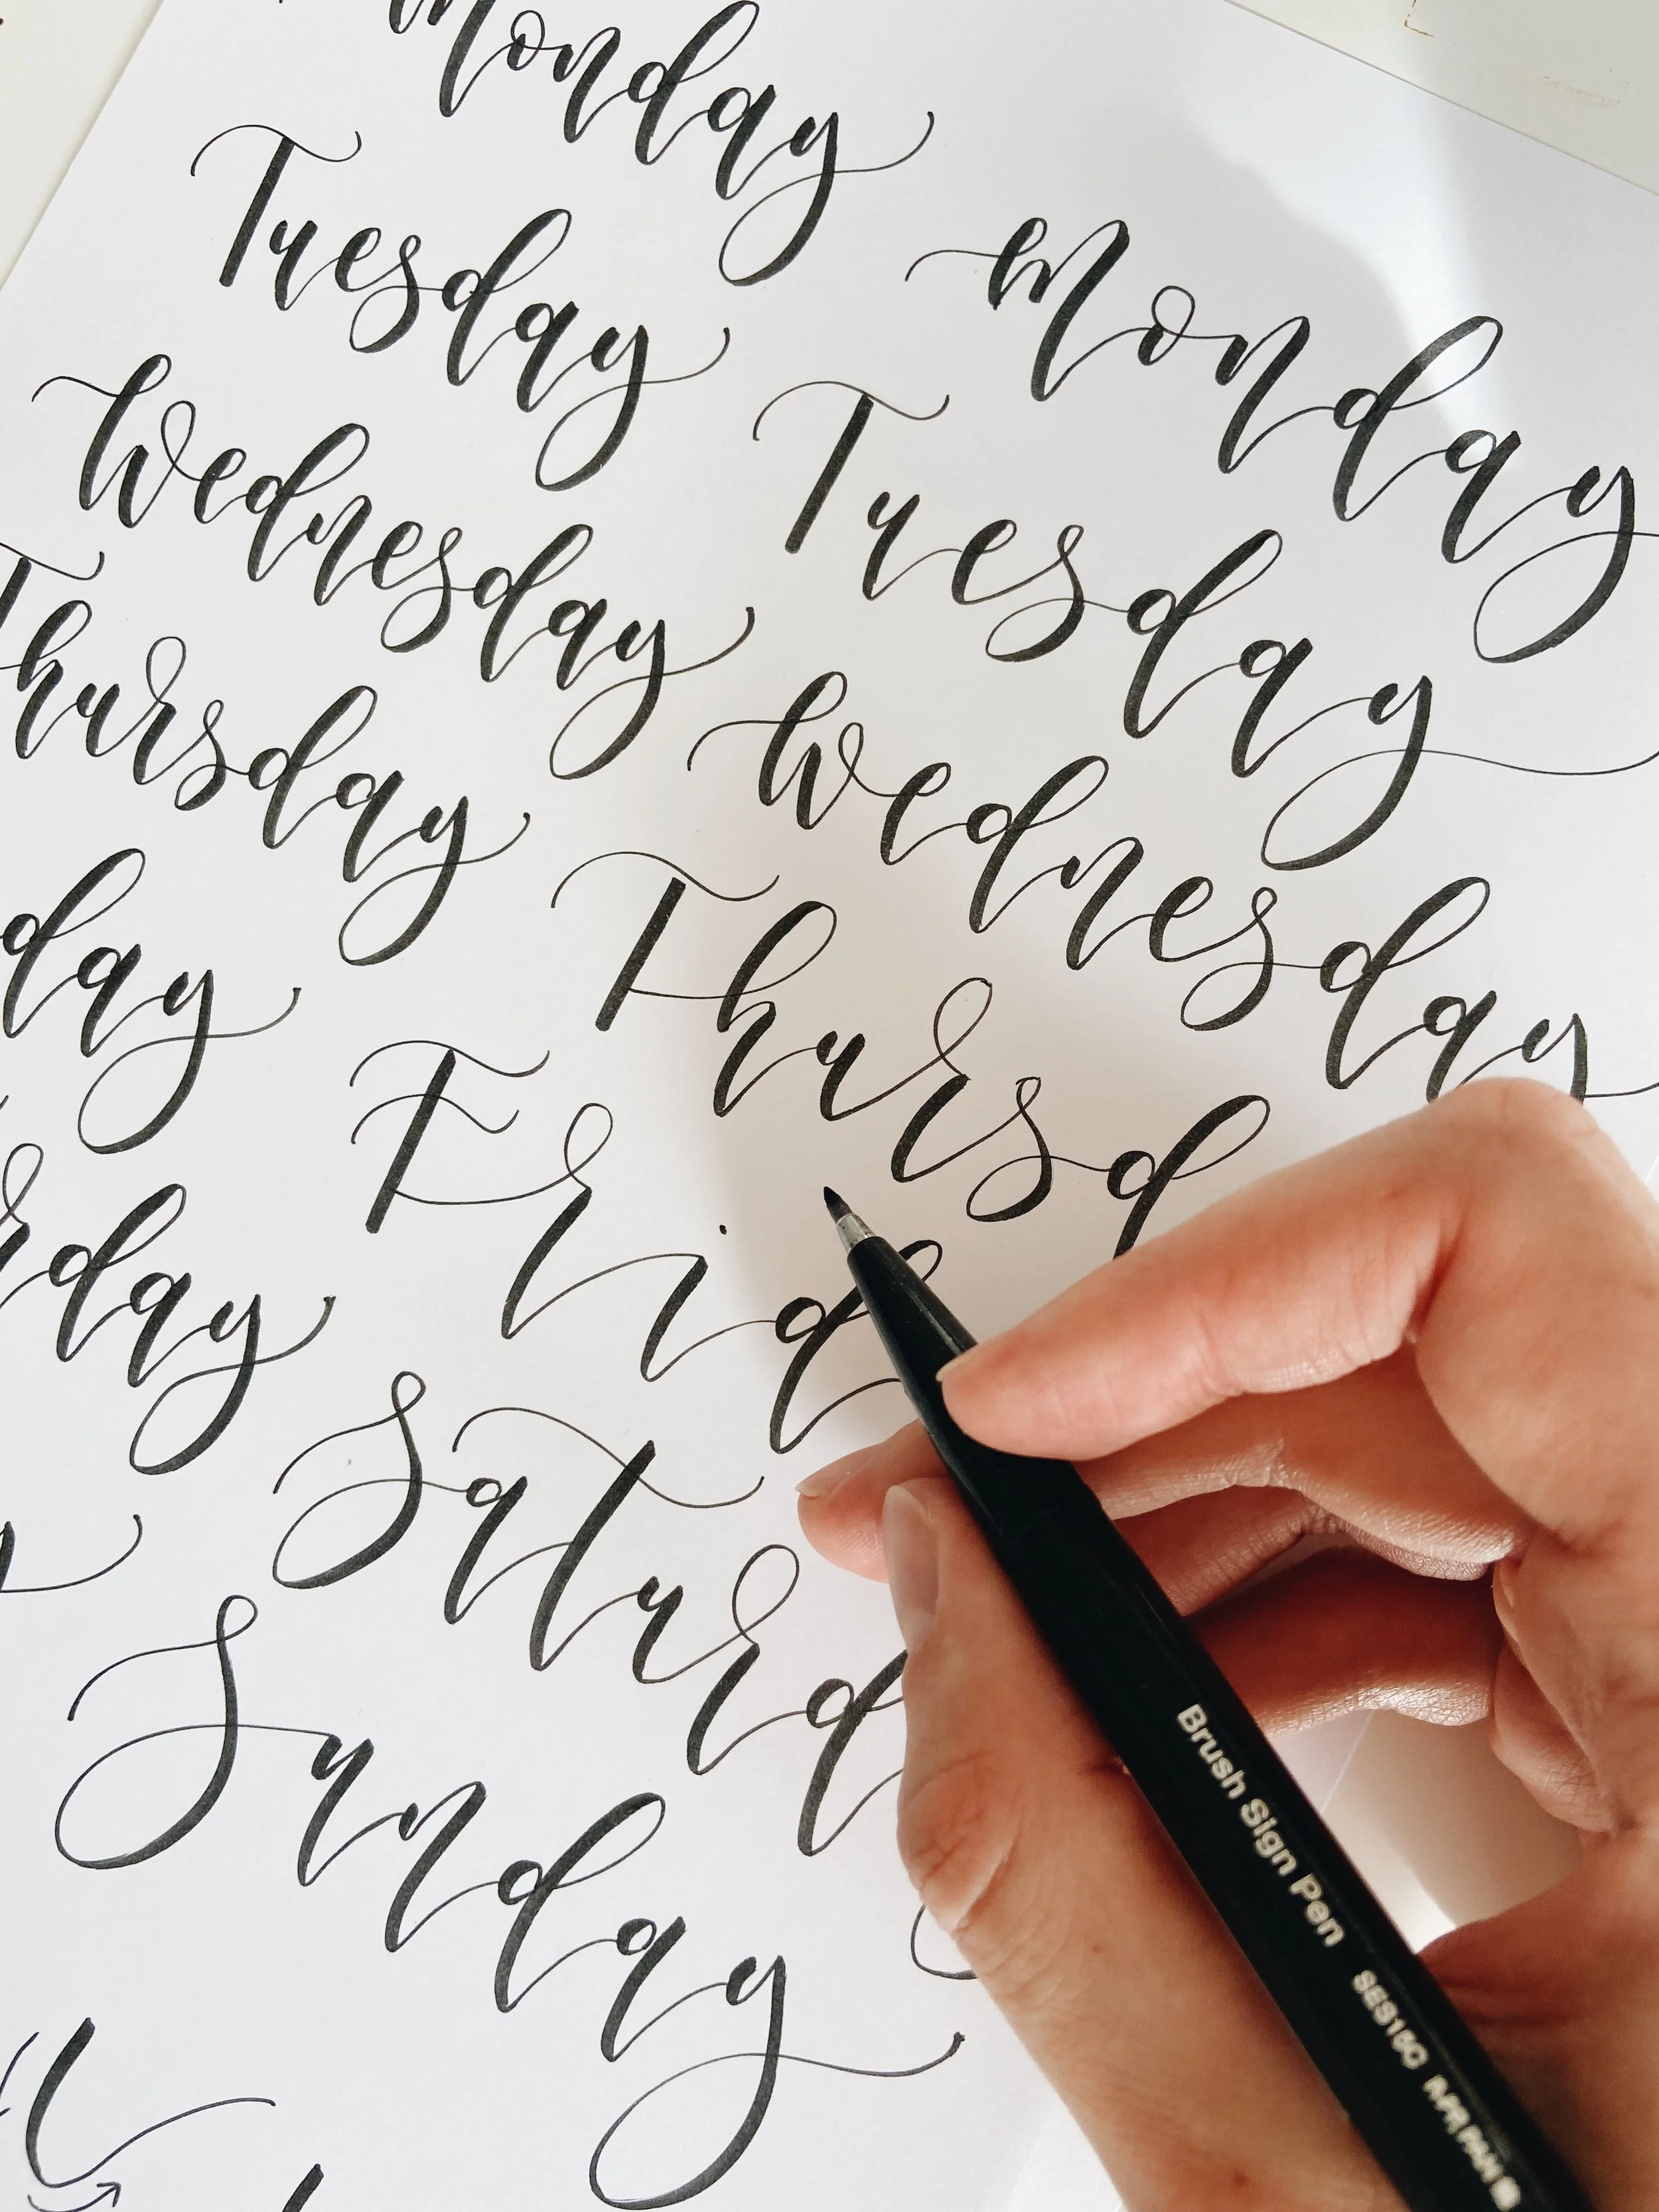
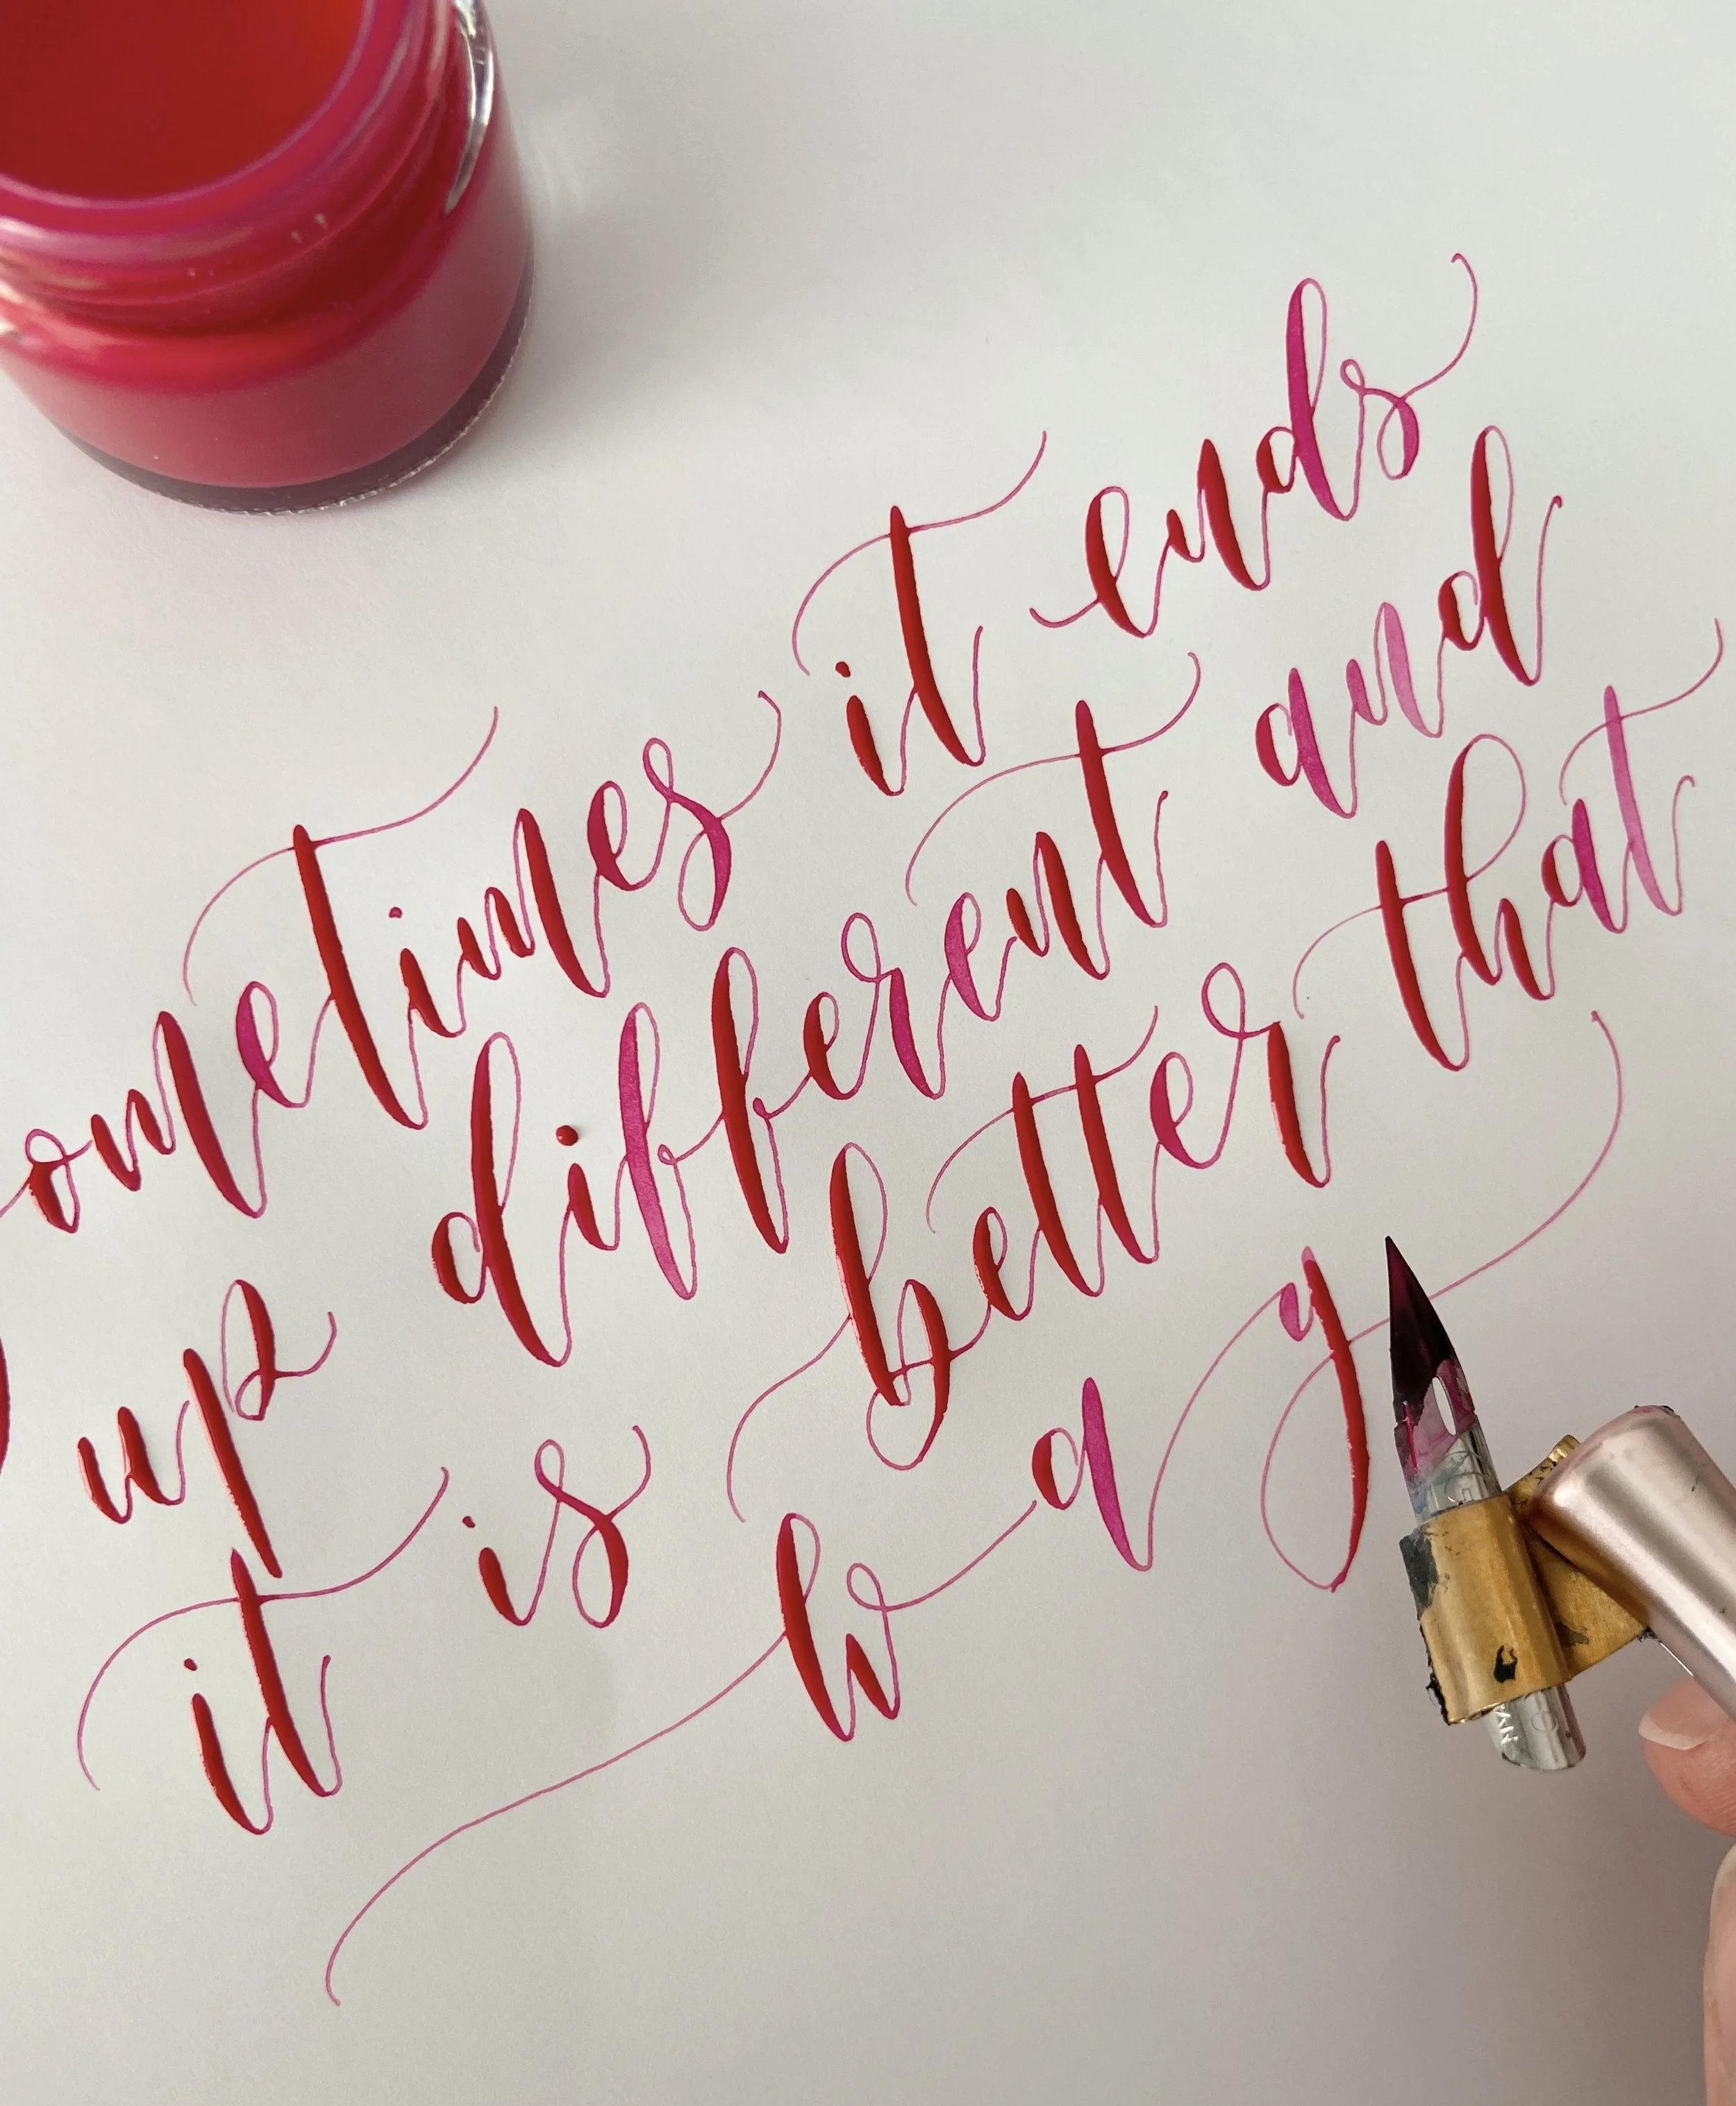
Practice Your Strokes
Practice makes perfect, it’s said, and learning calligraphy is no exception to the rule.
That isn’t to say that you’re going to be perfect as long as you practice enough; hand lettering, even with a precise form such as traditional calligraphy, usually contains some imperfections and variations.
But don’t get too hung up on those. That’s part of what makes your calligraphy unique!
It is recommended to get a feel for the strokes before you start an actual calligraphy project. You can do this by using some of the practice worksheets mentioned earlier. But you could also simply free-form loops on a blank sheet of paper.
Do this as much as you like. Fill up the page with practice strokes. Try to get a good feel for how much you should press down on the page as you make a downstroke, and how delicately the tip of the nib should touch for a thin line on the upstroke.
If you end up with splotches and spots, don’t worry. That’s exactly what a practice page is for.
It’s a little like riding a bicycle. It wouldn’t be advisable to ride down a steep hill before you get your balance on a bike, because you’ll probably crash and hurt yourself. It’s easier to start on a flat surface. If you fall there, you won’t be moving too quickly and the damage will be limited.
It’s the same with learning calligraphy, apart from the potential for bodily harm — we hope. Fill up your practice page with strokes to get your balance before you start on an actual project.

Sketch Out Your Forms Ahead of Time
But eventually, of course, it’s time to start riding your bike down the hill.
That doesn’t mean that you have to take the training wheels off before you’re completely ready, though.
Now that you’re moving forward with your calligraphy, this is where the pencils and ruler mentioned earlier come into play.
Whatever you’ve decided to write, whether a quote a lyric, or an address, have the words in front of you for easy reference. Then use the pencil to sketch out a very basic form of the letters, just to get a feel for the spacing.
Once you know how you want your words and letters to be spaced, sketch out the full form of the calligraphy letters for a guide before you break out the pen and ink.
Take Your Time
Now that you’re using your calligraphy pen and forming the letters, make sure to do two things as you go:
Breathe.
Take your time.
Calligraphy can be tremendously rewarding and therapeutic for the very fact that it requires time and concentration. It is not an art that can be rushed. And if you do go into it feeling like you want to produce a product as quickly as possible, it will almost certainly show in the quality of the lettering.
Do you want straight, firm lines?
Take your time.
Do you want proper thickness and thinness for the downstrokes and upstrokes?
Take your time.
Do you want to avoid splotching and spotting?
Take your time.
Along with practice and proper equipment, not rushing a calligraphy project is one of the most important aspects that play into satisfaction with the final result.
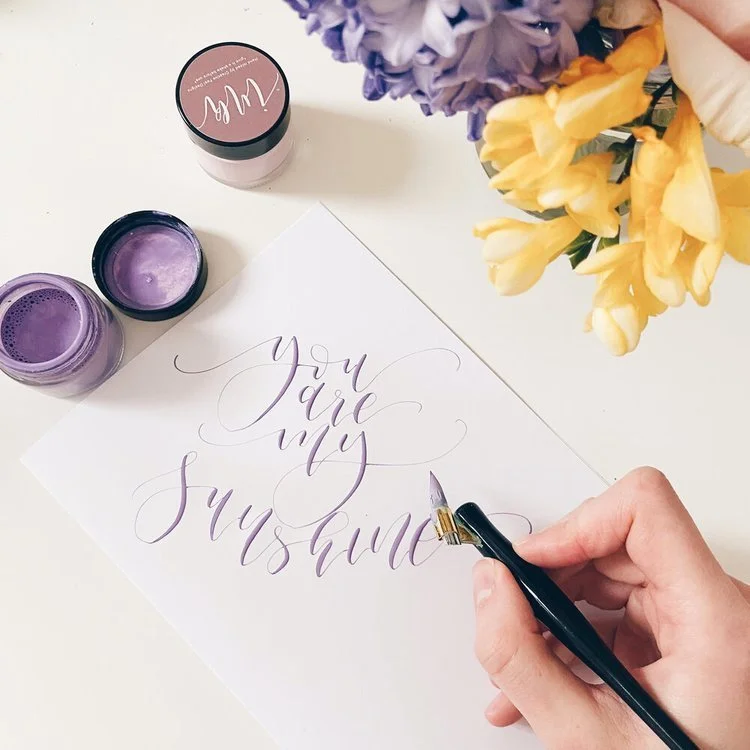
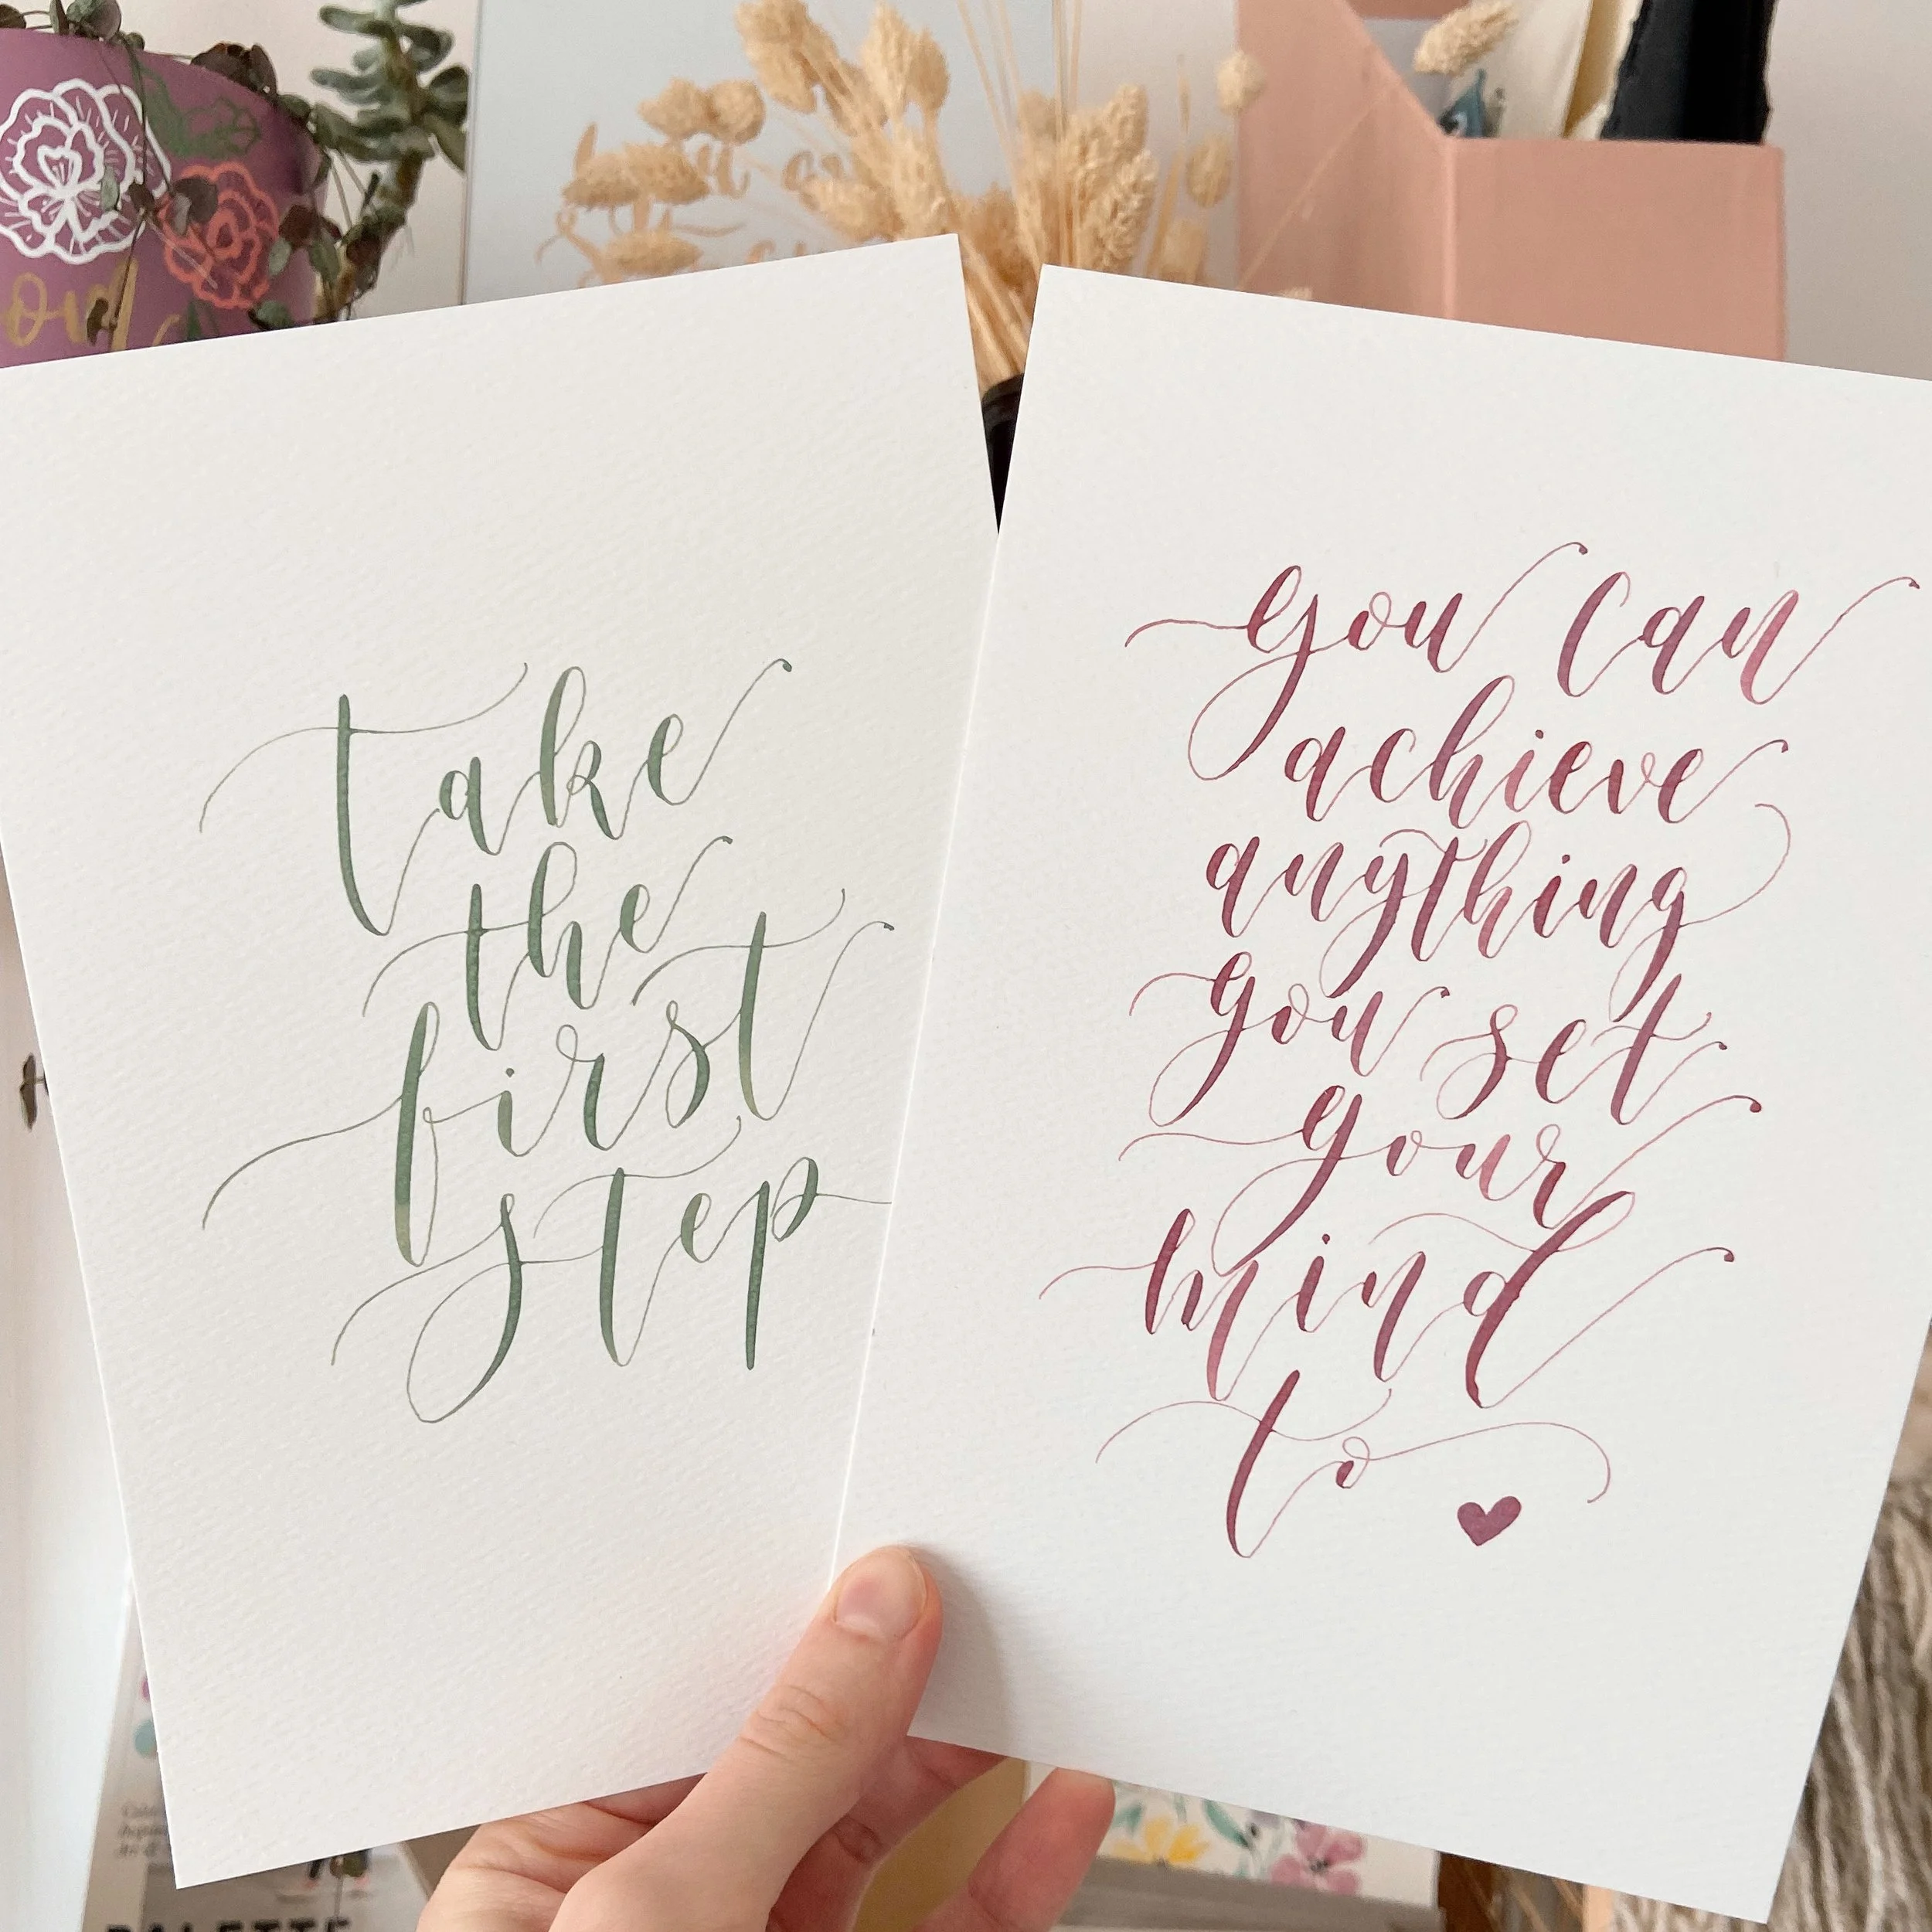
Use Any Upcoming Occasion as An Excuse
The more you work at your calligraphy, obviously, the better it is going to get. Your hand will become steadier, your eye will become more practiced at gauging distance, and you’ll likely branch out into other types of calligraphy.
So, make sure to show it off.
For any occasion that comes up — from anniversaries to retirement parties to seating arrangements at a dinner party — break out your calligraphy. Not only does it give you the chance to demonstrate your skills, but it also doubles as a further reinforcement for our final tip — one which has been pointed out a time or two already, but which bears repeating.
Practice, Practice, Practice!
Yes, even though it’s been mentioned, we’re going to mention it again. Now it’s one of the simple tips for beginners.
If you want to become an accomplished calligrapher, there is no better way than to practice.
Besides the growth of your skill and confidence, consider why you decided to take up calligraphy in the first place.
Whether it’s as a hobby or as a potential source of income, calligraphy is worth an investment of your time.
Calligraphy — From Beginner to Skilled
Everybody starts as a beginner, no matter what it is they’re starting. Calligraphy can be a special challenge if you’re not used to it. For one thing, it can appear to be tremendously complicated.
But if you have an interest in this beautiful form of artful hand lettering, don’t let appearances stop you.
As these ten simple tips have shown, becoming skilled at calligraphy is more about putting in the time and effort than it is about starting with a genius for drawing complex lines.
Although traditional calligraphy may not seem too forgiving, with its more rigid requirements and guidelines, there are variations on the art form that allow plenty of room for creativity.
Did you know that by signing up to my Blooming Calligraphers membership you'll get instant access to the exclusive worksheet library, engaging calligraphy and watercolour projects, and fresh monthly content? Become a member today, sign up here
Let's connect:
Instagram: http://instagram.com/creativefeeldesigns
E-mail: hello@creativefeeldesigns.com
www.creativefeeldesigns.com
